Monday, June 30, 2014

S'more Dip- gluten free, vegan and top 8 allergen free


This S'more dip is pretty decadent! 
If you don't have a campfire handy or would just like a different twist on a s'more this is the way to go.  I had some leftover homemade graham crackers and wanted to try something new with them.  

It is actually as quick as making a campfire s'more since you can use your microwave for this simple dessert.  And less hassle than having to make a fire!  

I would have to compare the chocolate dip portion to a marshmallow fluff texture that you could buy in the store.  When creating it I really wanted the dip to have a milk chocolate flavor since my daughter has never really tasted actual milk chocolate.  I know there are chocolate bars out there that are called "milk chocolate" but they don't taste like that to me!  Adding in the Daiya cream cheese spread gives it a little twist and calm down the sweetness factor.

This would be a perfect recipe to throw together for the upcoming 4th of July holiday and your backyard camp-outs this summer.  Adults and kids alike will enjoy this simple treat and no one will be the wiser in knowing that it is allergy free!  

Happy Summer!


gluten free, vegan and top 8 allergen free......


Save image to computer and print!


The consistency is quite thick one all the ingredients are added.


Make sure to get the marshmallows nice and toasty!


Also shared at: Fat Tuesday,Gluten Free & DIY Tuesday,Totally Talented Tuesdays,Gluten Free Wednesday,Waste Not Want Not Wednesday,Gluten Free Fridays,


Monday, June 23, 2014

Graham Crackers - gluten free, vegan and top 8 allergen free


Now that Summer is officially here we had better start gathering our "summer essential" recipes!
Graham Crackers are definitely on the top of my list.  We do a lot of camping and backyard get togethers with the fire pit, so we've got to have our main s'more ingredient checked off our list.

I love this recipe and have been making it for years.  I'm not sure where the original recipe started, but with so many years of cooking these and tweaking it here and there, I have a graham cracker we really love.  It was a pretty easy recipe to adapt to Allergy Free cooking since the non-allergy free version doesn't have many ingredients to really switch.  Always a plus in my book when trying to recreate food!

They, of course, or perfect on their own- but adding a little nut butter and jelly or honey...... or making my sisters favorite with icing isn't to bad either!   This graham cracker is a little softer than your store bought box kind.  But you can always increase the bake time and make them as crunchy as you like.  


gluten free, vegan and top 8 allergen free


Graham Crackers:

1 Cup  Brown Rice Flour
1/2 Cup  White Rice Flour
1/4 Cup  Potato Starch
1/4 Cup  Tapioca Starch
1/4 tsp  Xantham Gum
1/3 Cup  Organic Brown Sugar
1 tsp.  Baking Powder
1/4 tsp.  Salt
1 tsp.  Ground Cinnamon
5 TB  Spectrum Shortening (cold from refrigerator)
1 TB  Honey
2 TB  Molasses
5-6 TB  Milk Substitute ( I use Coconut Milk-carton)
*extra brown rice flour for rolling out dough

Preheat oven to 350 degrees.
In large mixing bowl with paddle attachment add, brown rice flour, white rice flour, potato starch, tapioca starch, xantham gum, brown sugar, baking powder, salt and cinnamon.  Mix on low until combined.  Add in cold shortening and mix on low to "crumble".  Next add in honey, molasses and milk substitute.  Mix on low until combined.  Place dough on parchment paper with a sprinkle of brown rice flour to top and bottom. Place another piece of parchment paper on top of dough and roll out until about 1/8 inch thick.  Using a knife or pizza cutter, score dough and poke gently with fork.  I score my crackers about 3 x 1 1/2 inches.  Place the roll out crackers (with the bottom parchment) onto a cookie sheet and refrigerate 20 minutes then bake 18 - 20 minutes.  The longer they bake the crunchier they will be. Enjoy!


Save image to computer and print!


You can see the dough is pretty "formed" when mixed.


I use a top and bottom piece of parchment to help with sticking and
to keep a smoother look once the graham crackers are cooked.

Just simply measure out or eyeball the cracker size and score with a fork.


Don't forget to refrigerate once scored before baking to "set".


Fresh out of oven!


Also shared at:    Create Link Inspire,Fat TuesdayGluten Free & DIY TuesdayTotally Talented TuesdayTasty TuesdayGluten Free Wednesday,Waste Not Want Not Wednesday,Allergy Free Wednesday,Full Plate Thursday,Gluten Free Fridays,


Monday, June 16, 2014

Texas Cobbler - gluten free, vegan and top 8 allergen free


Now that schools out and summer is basically here we are starting to enjoy our Summer cook outs!  

You'll find that this simple Texas style cobbler can be one of your go-to desserts this Summer.  It's simple and you can use whatever fruit you like or have on hand.  Or even better, whatever fruit you have in the freezer.....

This cobbler can be served warm or cold and is really good if you add a bit of your favorite dairy free ice cream or whipped cream- a must in my opinion!  You can throw this together really quickly and will probably have most all of the ingredients on hand for those last minute summer get together or picnics.  I've yet to meet too many adults or kids who will turn down a fresh cobbler!  It's always a hit.  

If you haven't tried a Texas Cobbler before, let me tell you they are delicious.  It has a bread pudding likeness to the batter once cooked and a lovely mild flavor that compliments most any fruit.  I've made this in cherry, blueberry and peach.  I hope you give this a try and share with the ones you love!


gluten free, vegan and top 8 allergen free


Texas Cobbler:
8 or 9 inch pan
serves 6

1/2 Cup  White Rice Flour
1/4 Cup  Brown Rice Flour
1/4 Cup  Potato Starch
1/2 tsp.  Xantham Gum
1/2 Cup  Organic Sugar
2 tsp.  Baking Powder
1/2 Cup Butter Substitute (I use Earth Balance Soy Free Sticks)
1 Cup  Milk Substitute ( I use Coconut Milk, carton or Rice Milk)
1 tsp.  Vanilla Bean Paste or Pure Vanilla Extract
1 Cup  Fruit of choice (fresh or frozen-thawed)

Topping:
1/4 Cup  Organic Sugar
1 tsp.  Ground Cinnamon
1/4 tsp.  Ground Nutmeg

Preheat oven to 350 degrees.  Cut up 1/4 cup of the butter and place in bottom of baking pan.  Place in oven and melt for 3-5 minutes.  In medium bowl whisk together, white rice, brown rice, potato starch, xantham gum, sugar and baking powder.  Add the other 1/4 cup of butter and cut into dry mixture to form "crumbs".  Add milk substitute and vanilla and mix together.  The batter will be lumpy.  Pour into baking dish with the melted butter, top with fruit and sprinkle with topping mixture.  Bake 40-50 minutes until done. Serve warm or cool.  Enjoy!


Save image to computer and print!


Add the butter to the baking dish and melt in the oven.


Once your batter is mixed add it right on top of the melted butter.


Top with your choice of fruit and sprinkle on the topping and bake.


Texas Blueberry Cobbler!


Also shared at: Fat TuesdayCreate Link Inspire,Totally Talented Tuesday,Gluten Free & DIY Tuesday,Allergy Free Wednesday,Gluten Free Wednesdays,Waste Not Want Not Wednesday,Gluten Free Friday,


Monday, June 2, 2014

Lemon Blueberry Layer Cake - gluten free, vegan & top 8 allergen free


This is the kind of cake that makes me very happy!

Lemon layer cake with Blueberry compote and Vanilla Bean butter cream!

It makes for a perfect Spring or Summer celebration cake-
When you are needing a little change from chocolate or vanilla cakes or just want something with a little more "grown up" flavor this is the way to go.  

Now if your not a fan of blueberries you could easily do a raspberry or strawberry filling instead. The lemon cake layers are a pretty delicate lemon flavor so switching up the middle compote will compliment most any fruit flavor.  In the frosting recipe I used my newest favorite baking item I just bought, Vanilla Bean Paste.  It adds not only a wonderful vanilla flavor but also enhances the look of the frosting with little specks of vanilla.  If you don't have the paste just use pure vanilla extract and it will work too!

This was for a special birthday so I ended up doubling my recipe and making a three layer cake, I froze the extra layer to use at a later date.  If you decide to just make a two layer I would still make the same amount of compote but just spread it on thicker, more is always better in my book!


gluten free, vegan and top 8 allergy free...........


Lemon Cake:   recipe found (   here  )  Using 2-8 inch round cake plans and reducing bake time to 25 minutes.
*I doubled the cake recipe to make a 3 layer (I froze the fourth)

Blueberry Compote:

3 Cups  Blueberries (fresh or frozen)
1/4 tsp  Crystallized Lemon Powder (or 1/2 TB  Lemon Juice)
1/2 Cup  Organic Sugar

Place all of the ingredients into small saucepan and cook on medium heat (a low boil) and reduce by 1/2. This will take about 15-20 minutes depending on your heat.  Cook completely before using on cooled cake.  If needed, place in refrigerator to speed up process.

Vanilla Bean Butter Cream:

1 1/2 Sticks  Butter Substitute ( I use Earth Balance Soy Free)
*if you use the tub of butter substitute use 1/2 Cup + 1/4 Cup and use less milk substitute
1/2 Cup + 1/4 Cup  Spectrum Shortening
dash of salt
4 1/2 Cups  Organic Powdered Sugar
2 TB  Vanilla Bean Paste (or pure vanilla extract)
2 TB + 2 tsp  Milk Substitute - I use Coconut (carton) Milk

In large mixing bowl with paddle attachment combine butter, shortening and salt.  Mix on medium speed until soft and well blended, 1 to 2 minutes.  Add in powdered sugar, vanilla and milk substitute and mix on medium high until fluffy, 2-4 minutes. Use on cooled cake.


To Assemble Cake:

Once cake and compote has cooled completely, place one cake layer on a cake plate/stand and spread a thin layer of frosting before placing 1/2 of compote on layer (this will keep the cake from getting soggy) and repeat with next layer.  Place top layer on and poke two wood skewers into cake from top to bottom to hold cake into place and frost with the rest of the butter cream.  I normally leave the wooden skewers in until right before cutting to help avoid any "sliding" of the cake.  The cake can be refrigerated but is served at room temperature, so be sure to remove 30 minutes to 1 hour before serving.  Enjoy!


Save image to computer and print!


This is the first layer with a thin layer of icing and then half of the
blueberry compote on top of that.  This will keep the cake
from getting soggy from the fruit.


Getting ready to frost!


I always use two wooden skewers before icing to keep the cake
in place and avoid any sliding of layers.  You can just frost
around the skewers and remove them just before cutting.


One handy trick is to place strips of parchment around the bottom of
the cake before assembling so your cake stand/plate keeps clean and crumb
free.  Just remove once you are done frosting and decorating.


Finished!


You can see the beautiful specks of vanilla bean!


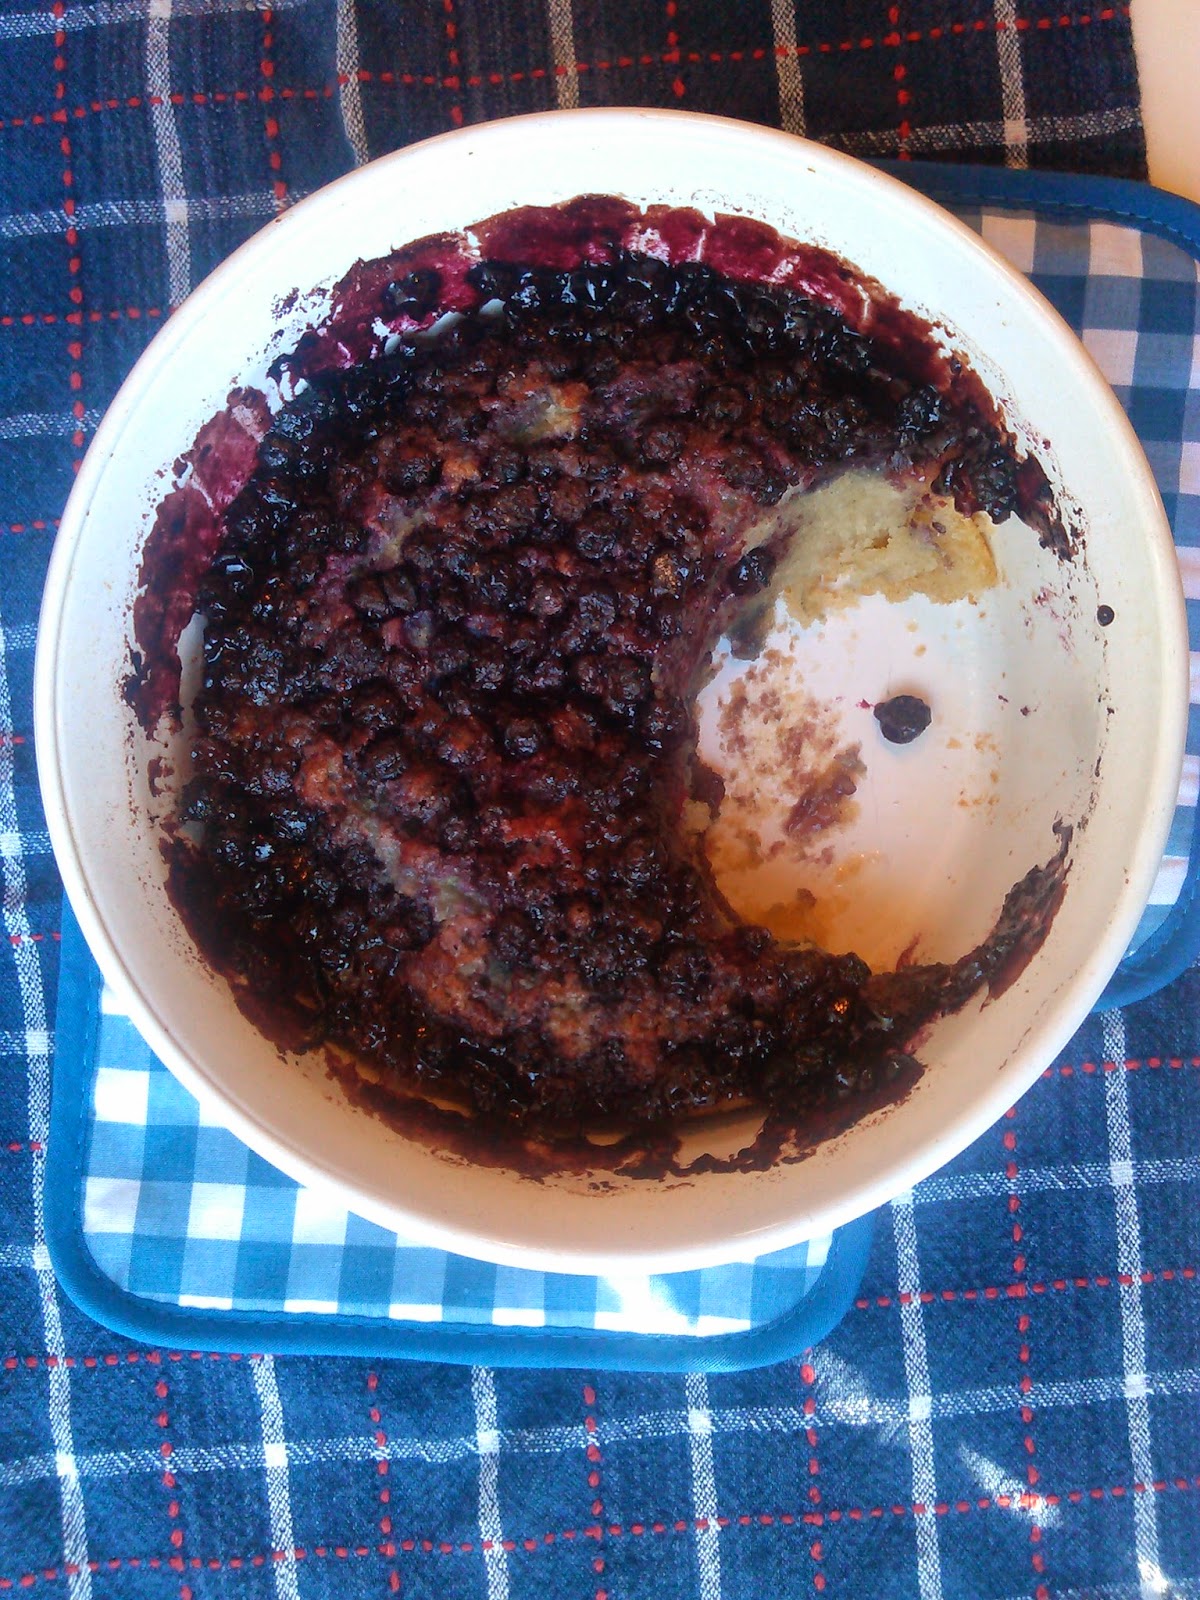
This is what happens when you wait to take a picture.....all gone!  ooops-


Also shared at:  Allergy Free WednesdayWaste Not Want Not WednesdayFull Plate ThursdayFat TuesdayTotally Talented TuesdaysCreate Link InspireTasty TuesdayFull Plate ThursdayGluten Free FridaysFoodie Friday,